Using Streamer.bot to set up stream alerts with Ghost
Streamerbot has just released its supported alpha (1.0) into public beta, and it's the perfect timing, as I just started playing with Webhooks. I wanted to create an alert for my stream that would show when someone became a member on my Ghost site, allowing me to make a call-out and offer a public thank you.
I know not everyone who signs up will be a stream watcher, but it would be a cool feature for those who do watch. Now, you're not here to read my waffle; you want to do something similar, which is why you're reading this post!
Prerequisites
First, let's go over the necessary items you'll need to complete this task. You will need to download the latest version of Streamerbot and also become a "Thank you!" supporter on Nate's Patreon ($2 per month).
You will also need to create an account on Streamerbot to use webhooks by signing up on the website from which you downloaded the tool.
Once you have done this, you will need to connect your Patreon account to your Streamerbot account within your Streamerbot account settings. This is to confirm that you are a supporter of the app and will be allowed to use the Webhooks feature.
Setting up the Streamerbot Webhook
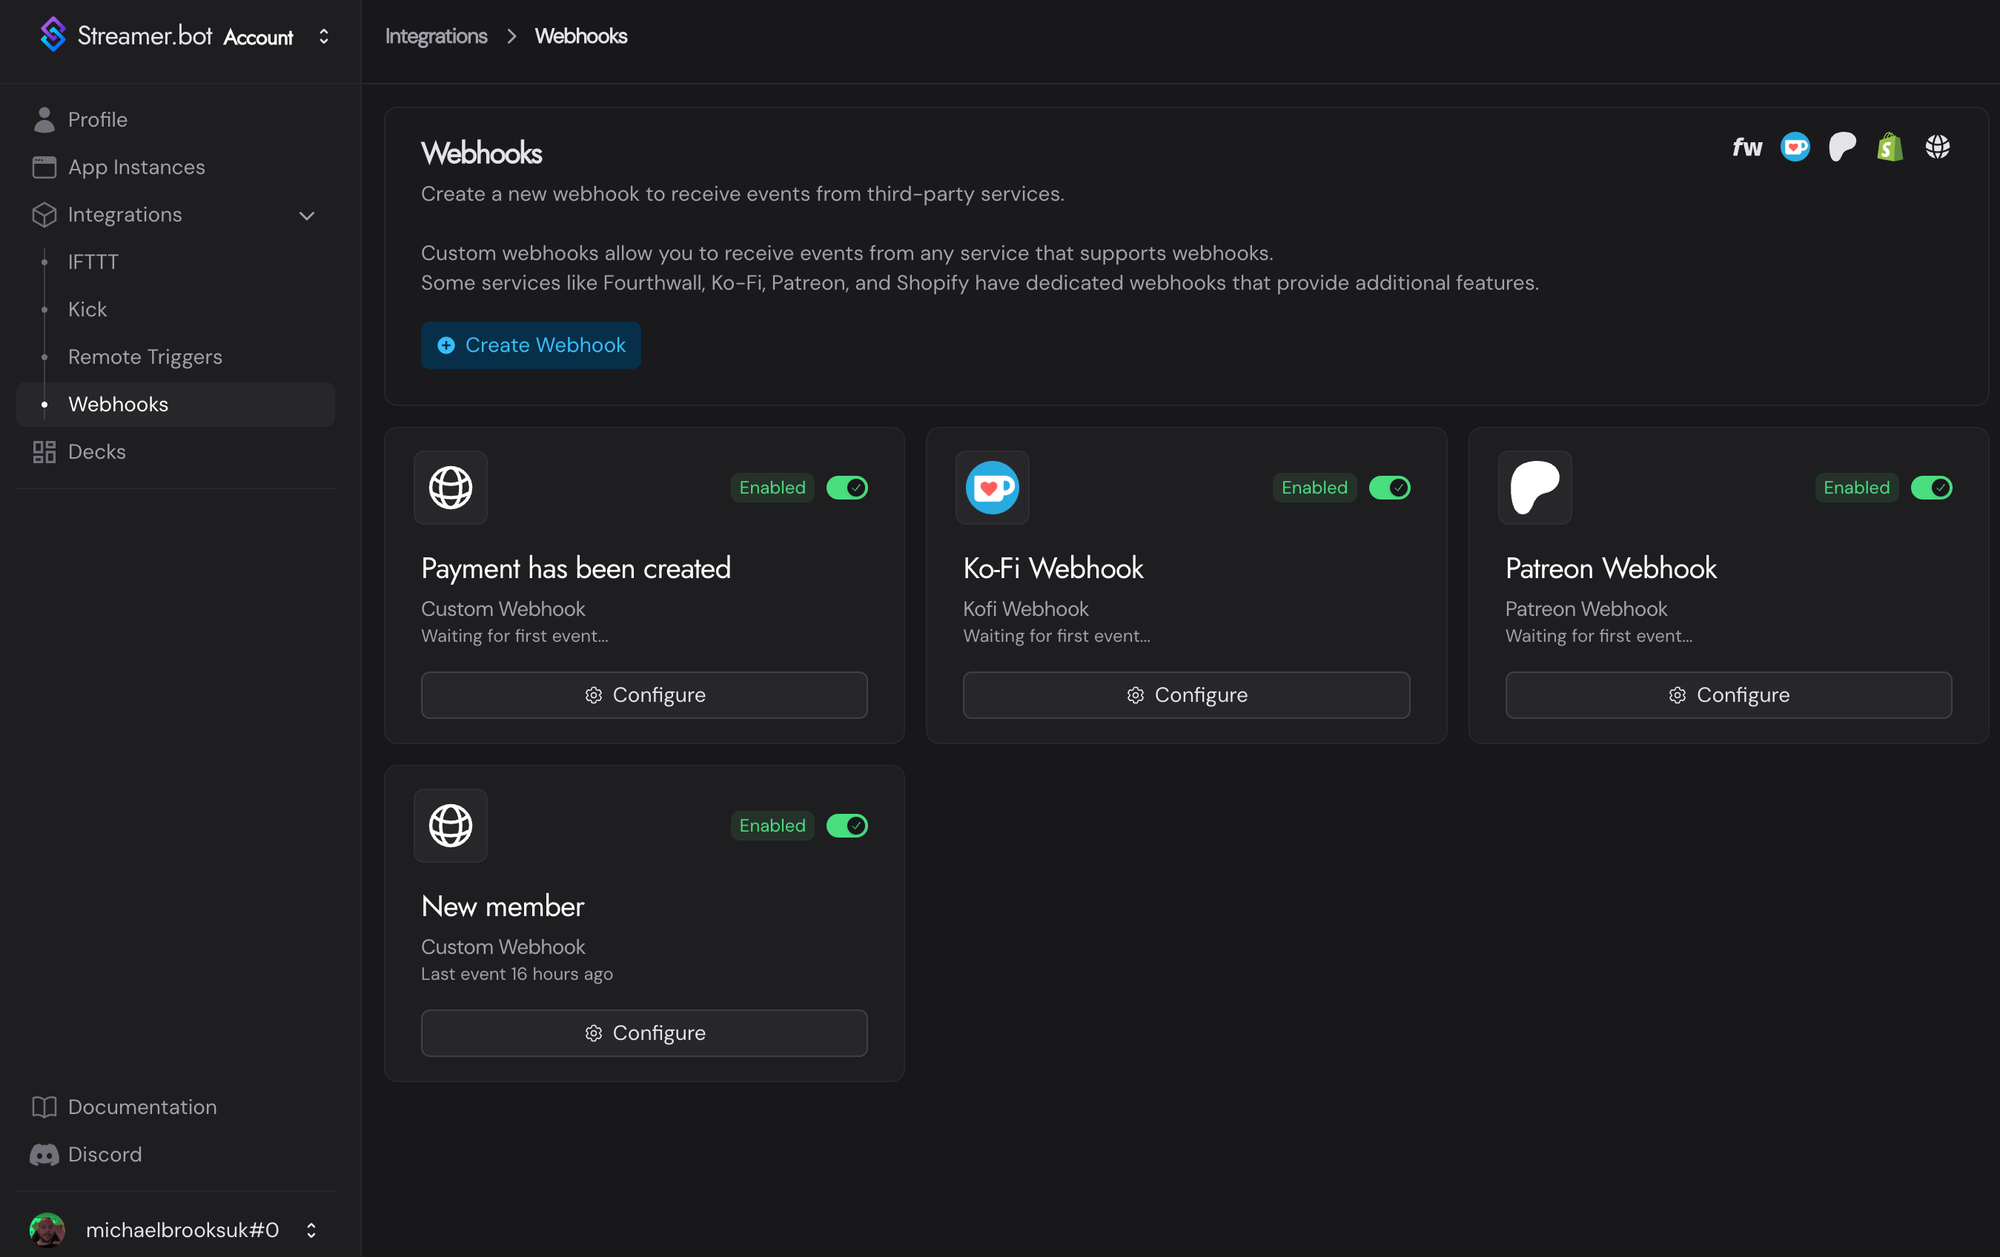
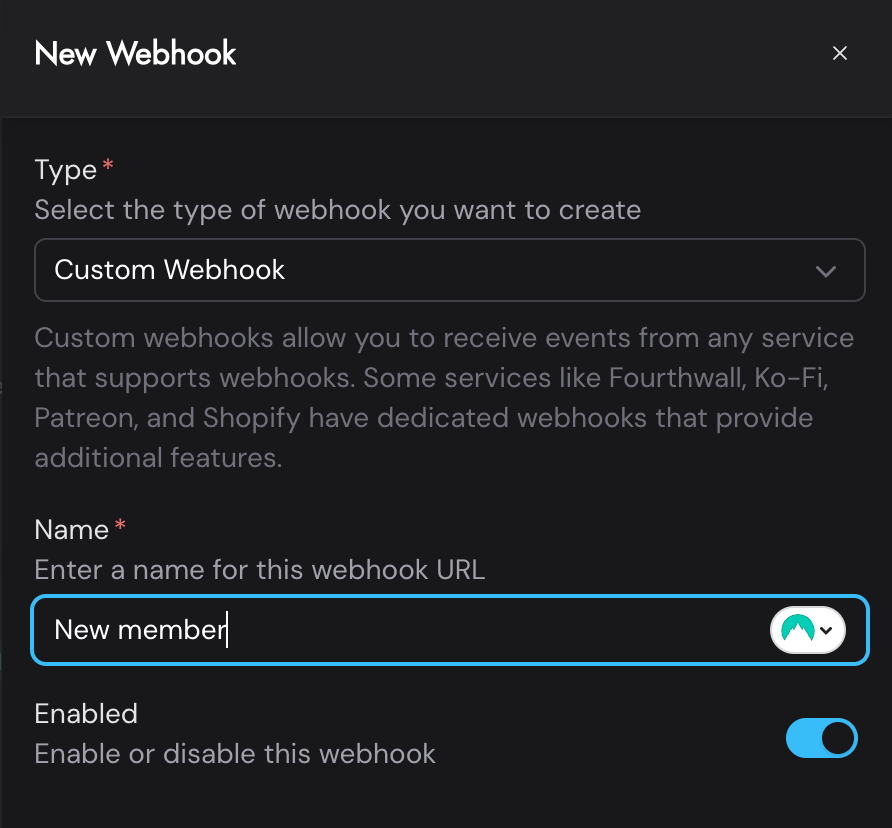
Head over to the webhooks section of the Streamerbot website and click on the blue "create webhook" button. In the Type* dropdown, select custom and then give it a name. For this one, I called it "New member" because the webhook will be specifically for when a new member signs up.
However, Ghost has a range of events, including when your site has been rebuilt, a new post has been added, updated, or deleted, and more.
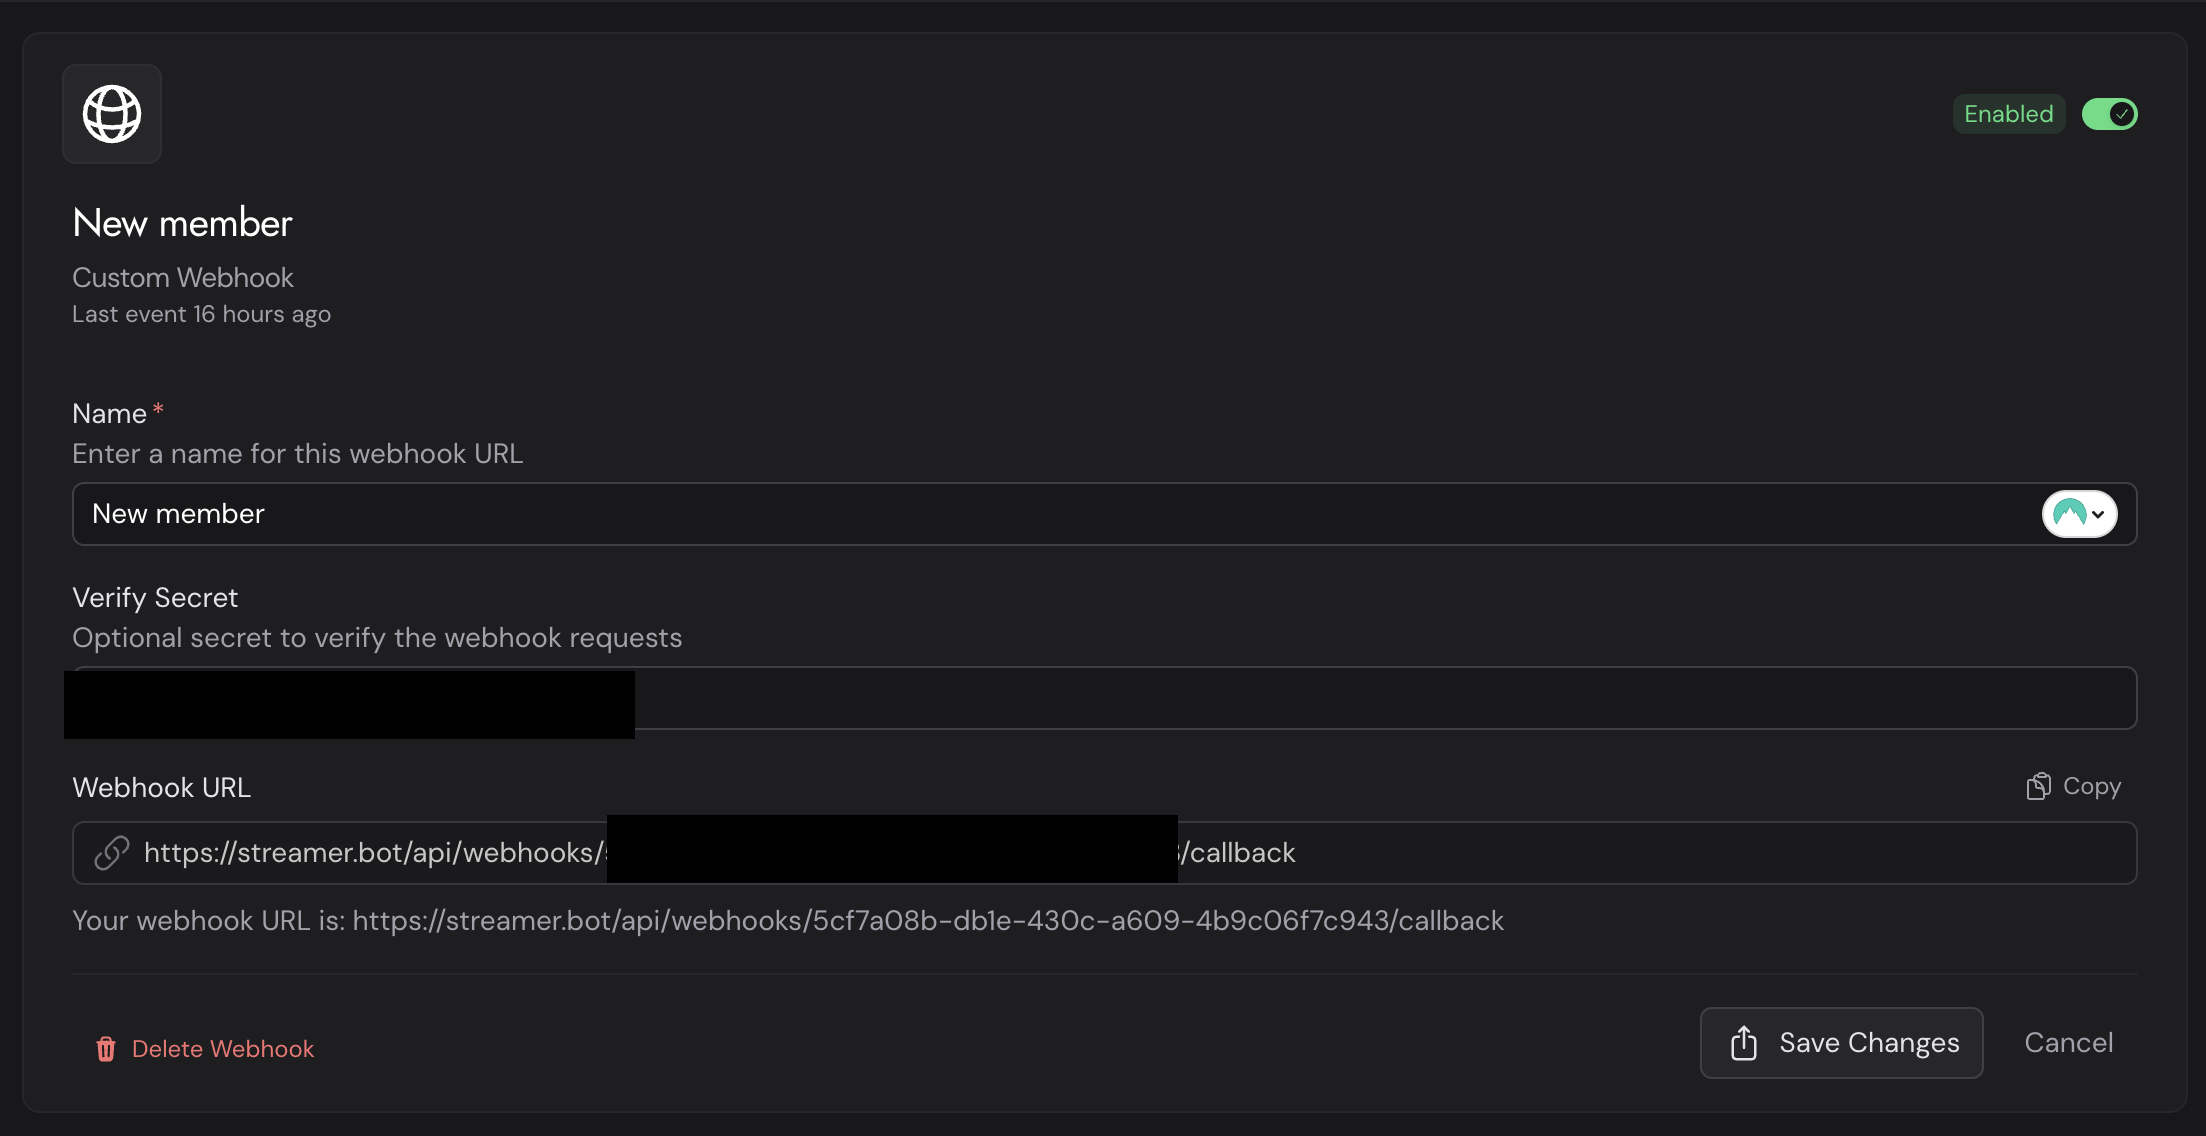
After clicking submit, you will then want to configure the webhook. To do this, click on the Configure button for your created webhook. This is entirely optional, but highly recommended. You should make your own Verify secret. This ensures that only the webhooks you create are confirmed to send data to your Streamerbot webhook. It can be anything, a random word (or multiple words), or you could generate a random password. Please remember to use it later on.
Setting up the webhook on Ghost
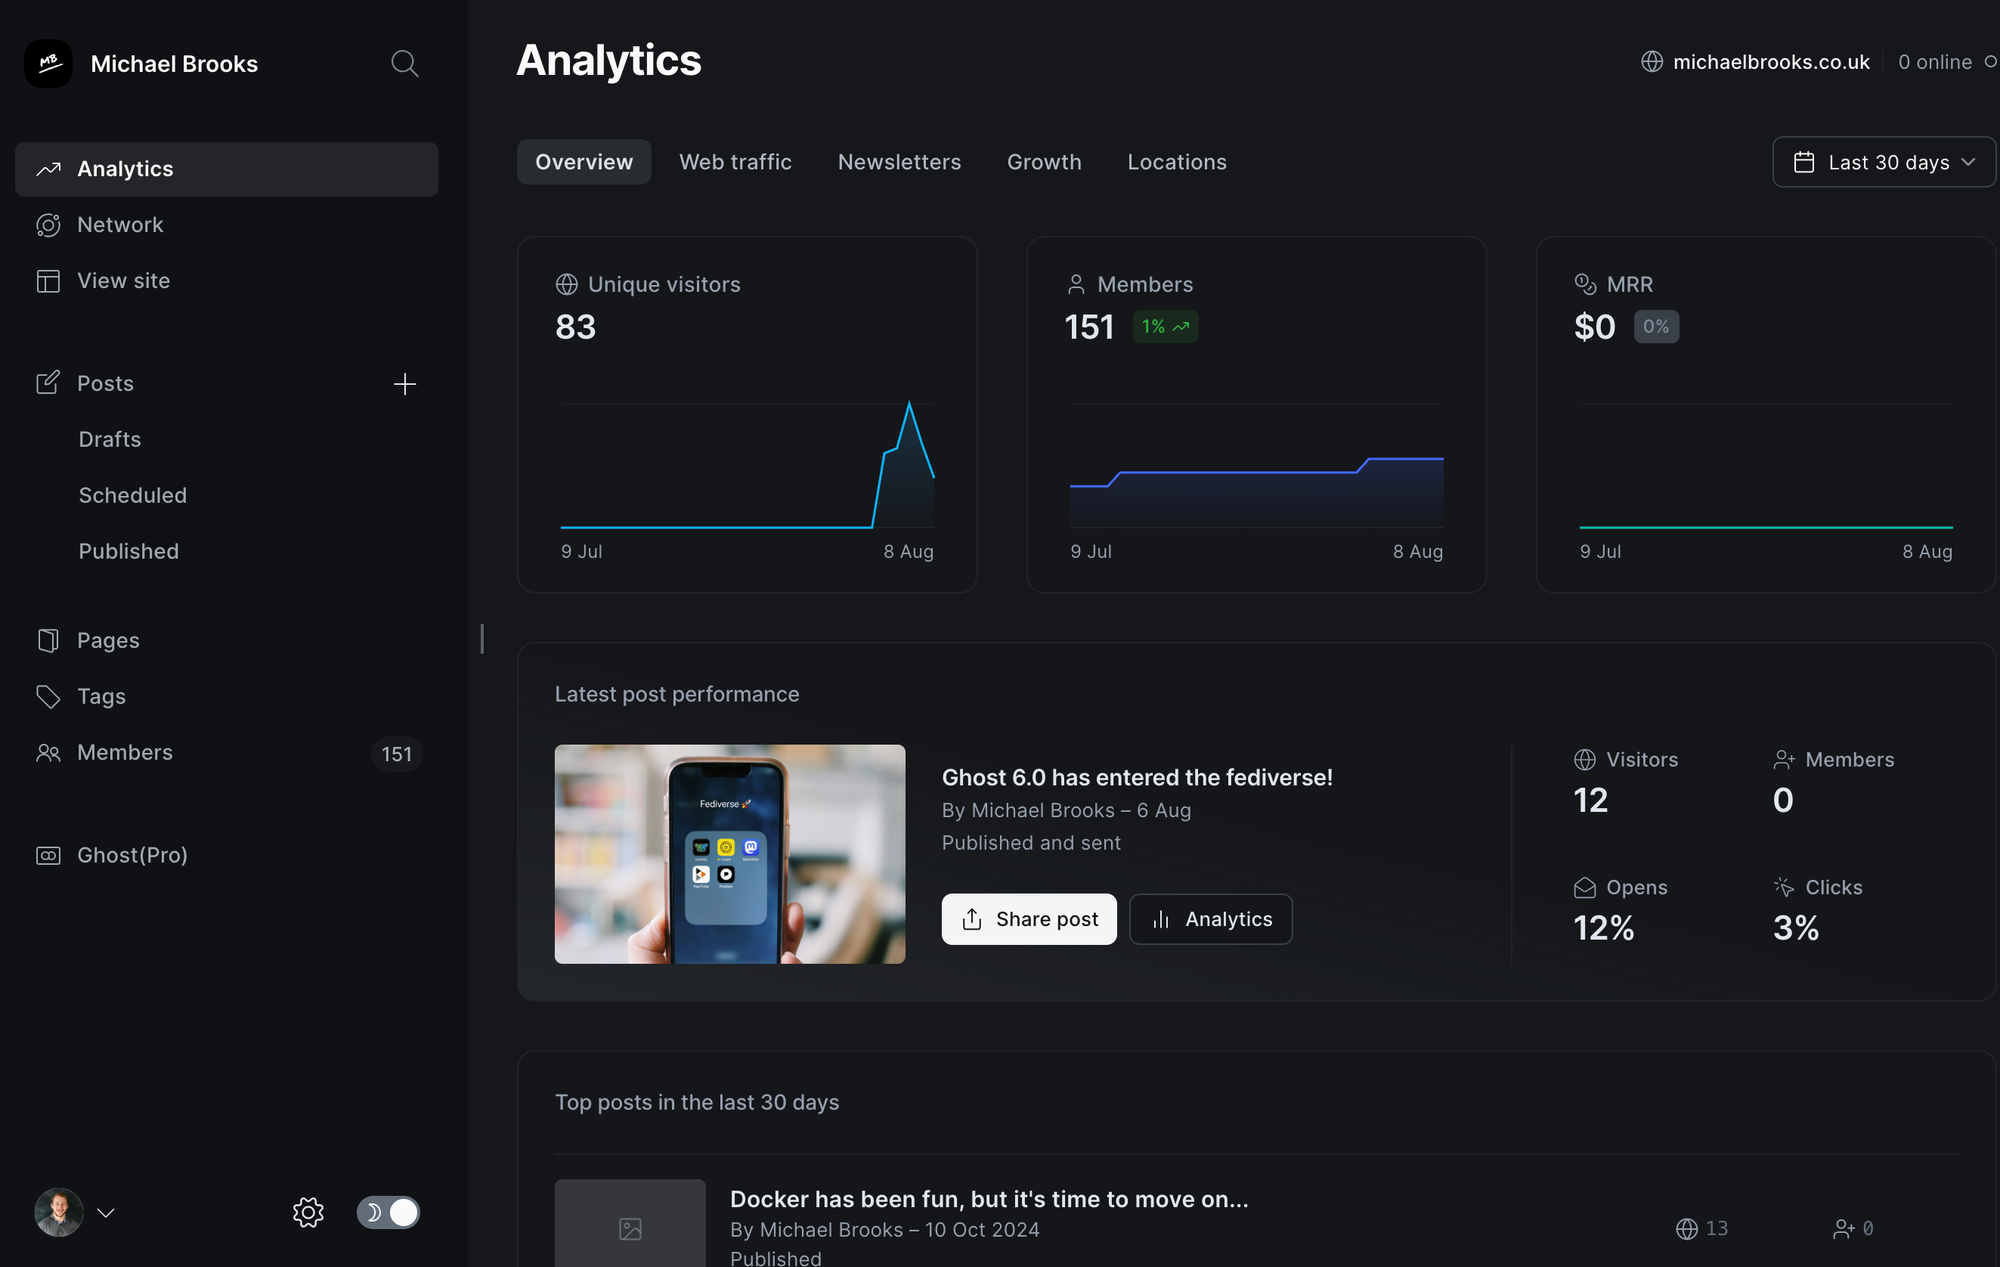
Now it's time to create a webhook on your Ghost website. You can head over to your Ghost settings by clicking on the cog near the bottom left of your dashboard.
You then want to scroll down the left side until you reach the "Advanced" section. Under this, click on the Integrations link. There will be a button called "Add custom integration". Click on this and then set the name to whatever you would like to call it. I have matched the same name from Streamerbot and called it "New member".
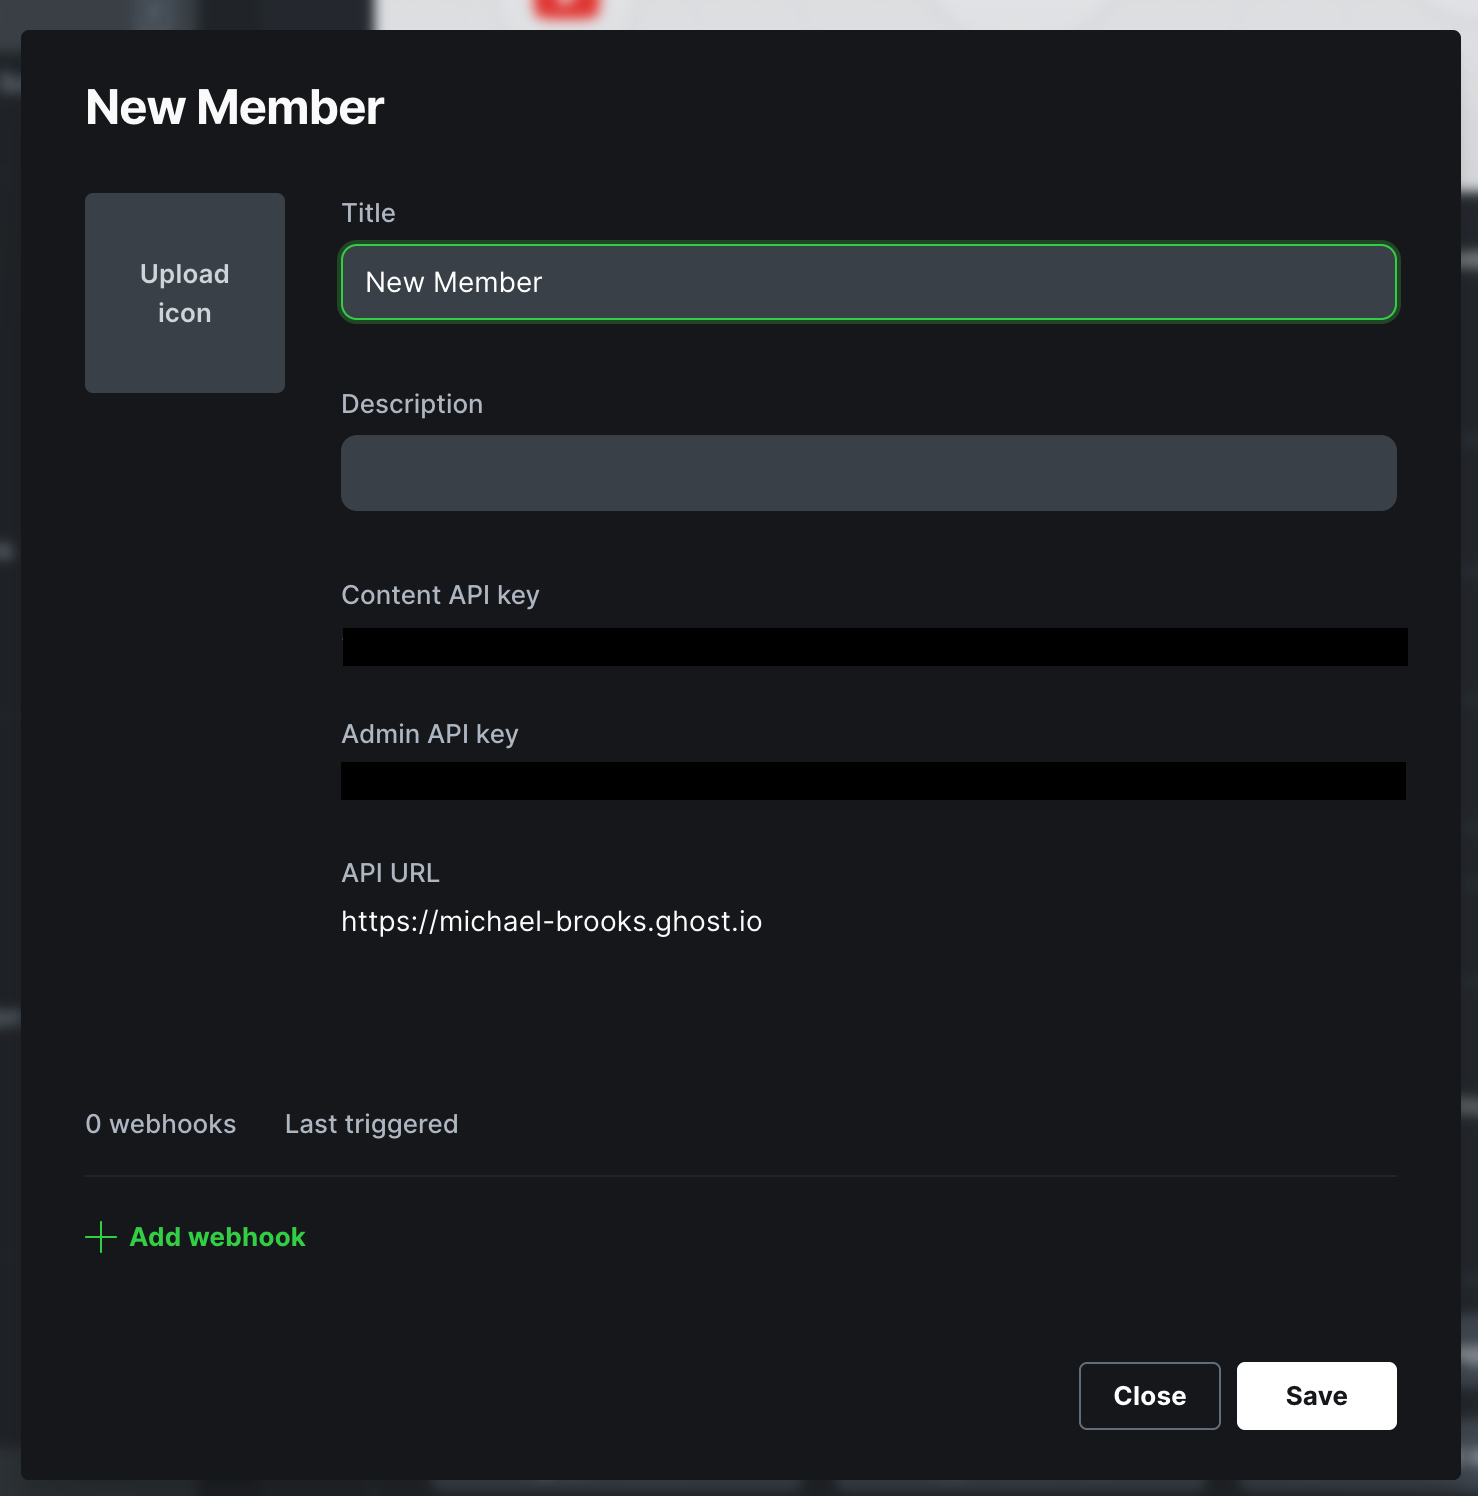
Click the "Add Webhook" link located at the bottom of the modal. Give this a name, again, I called it New Member. Within the event dropdown, I selected Member added, but you can choose any event you would like to record for your webhook. Set the target url to the webhook url that's in your Streamerbot webhook. If you created a webhook secret, copy and paste it into Ghost's secret input field.
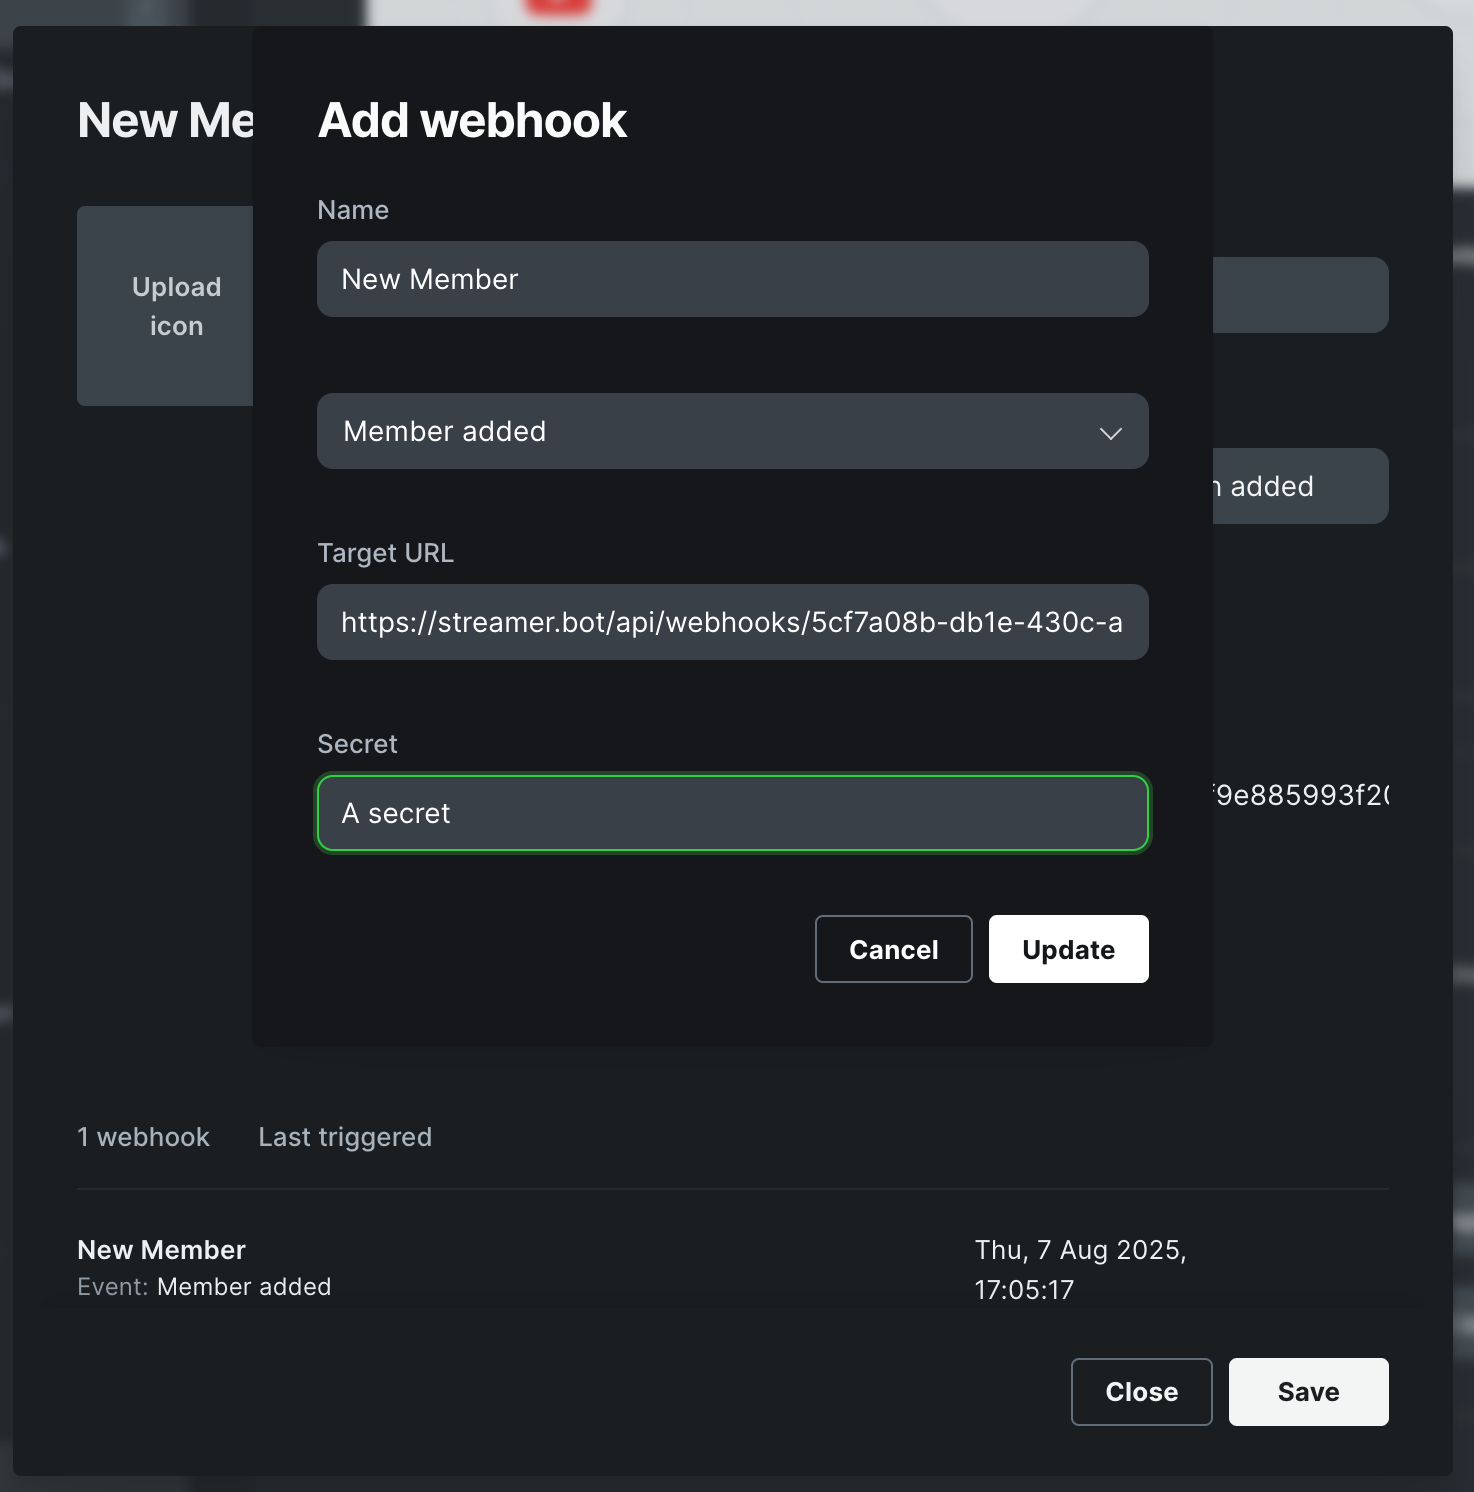
Click on save, and you're done! You can test this by creating a new member in your dashboard. You can use a test name and email, then save the details. If it's successful, then you should see it appear in your Webhook Request History on your Streamerbot webhook page.
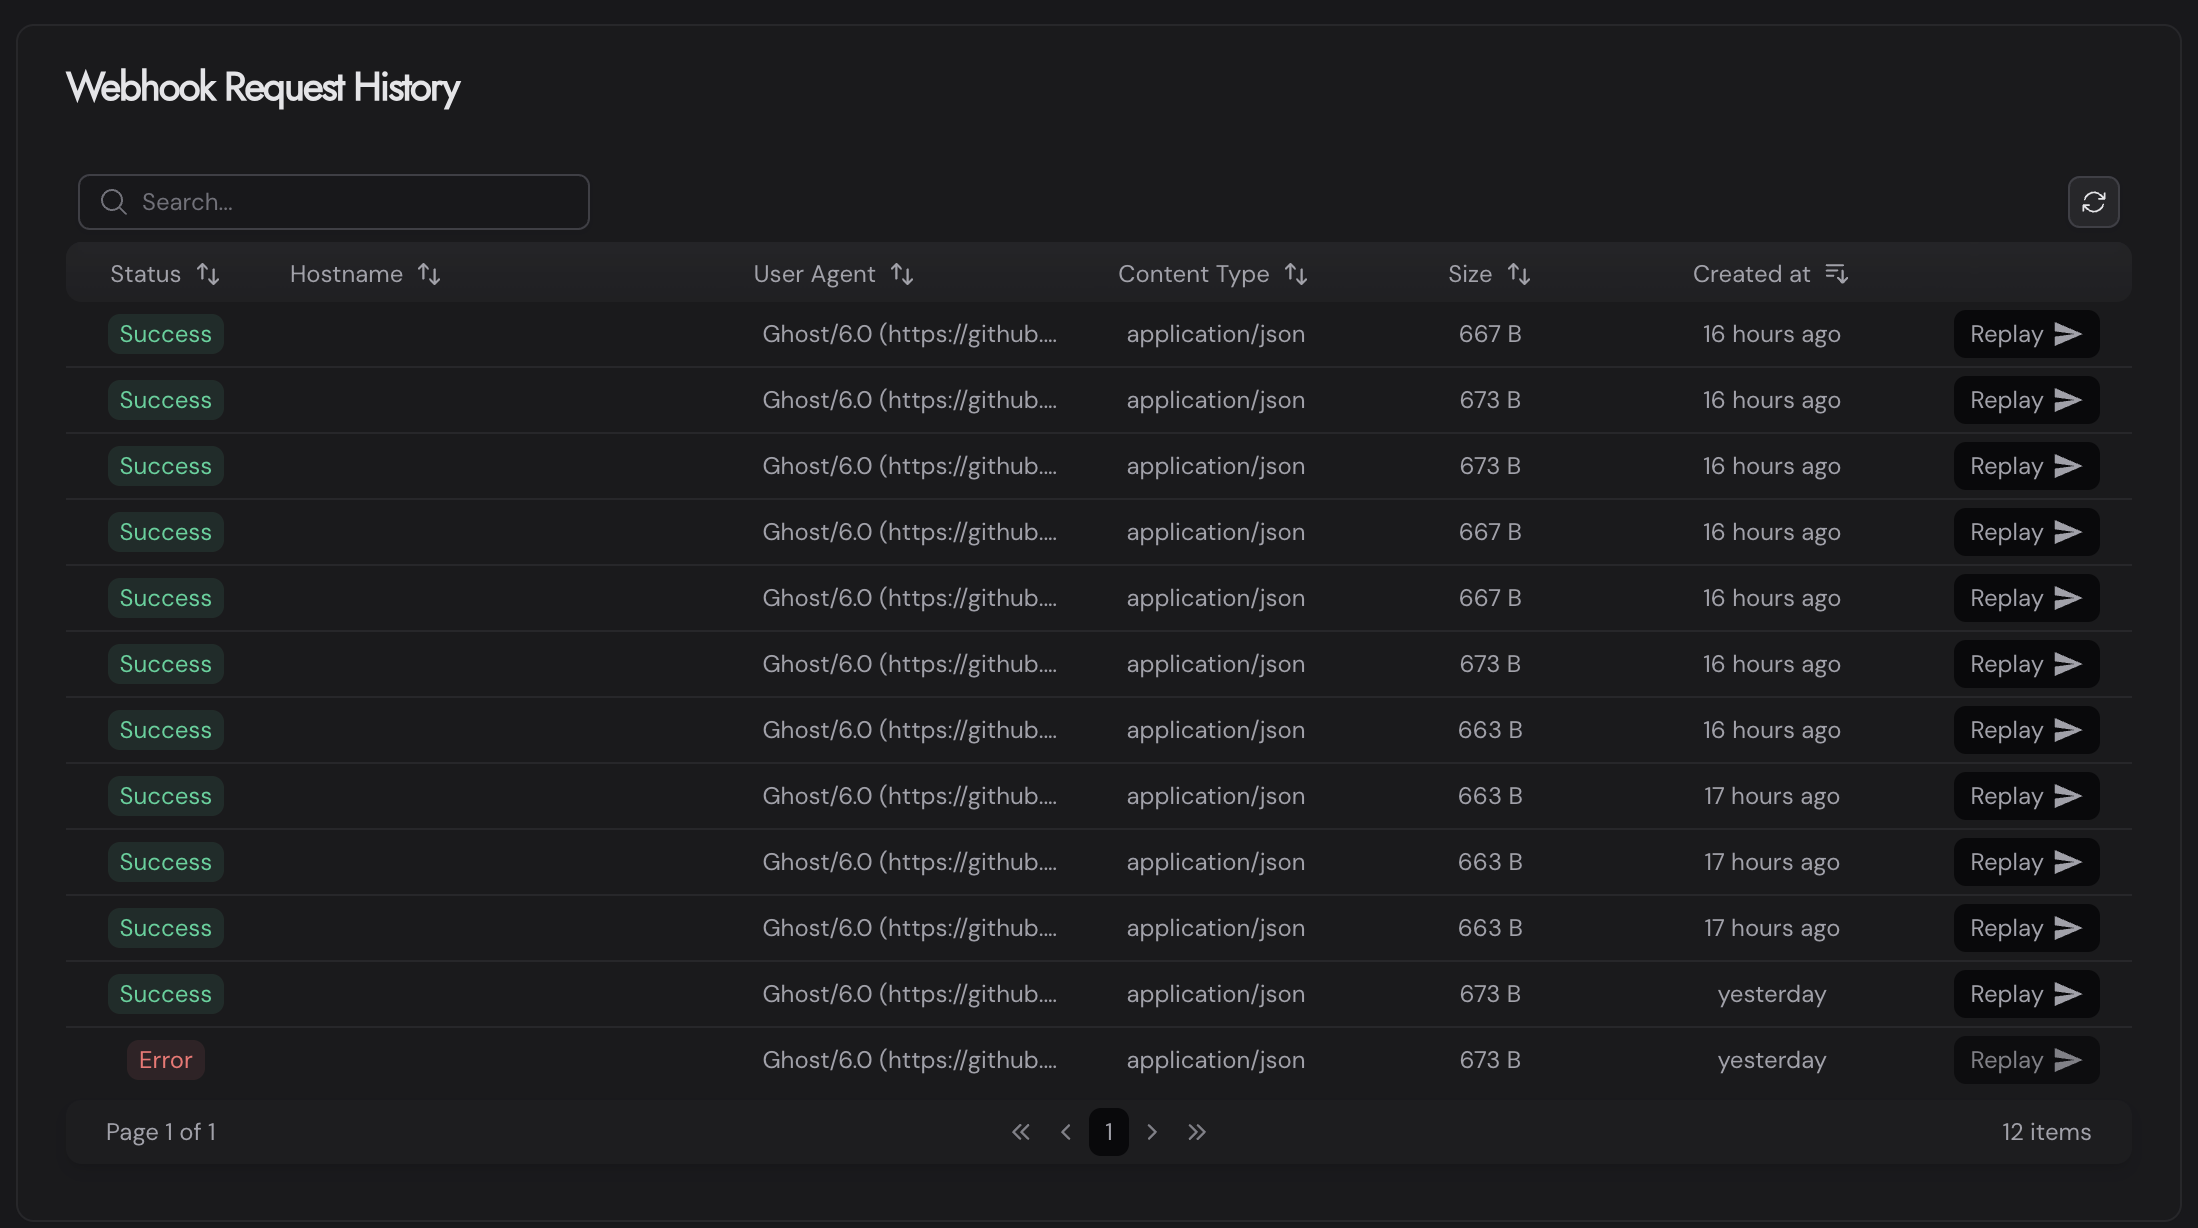
If it doesn't appear here, then something hasn't been set up correctly. You can either go back and read the previous instructions or you can leave a comment, and I will try to help you solve it.
If you see the webhook within the list, then congratulations. However, if the status has an error, then be sure to hover over the text to find out why. It's likely that you didn't connect your Patreon account properly or that you haven't become a Patreon supporter.
If you have a green success status, then that means everything has been set up correctly, and you can create Actions within the Streamerbot application and create some exciting alerts.
Connect the Streamerbot app to the website
Now that we have Ghost connected to Streamerbot, we can proceed with connecting the app to the Streamerbot website.
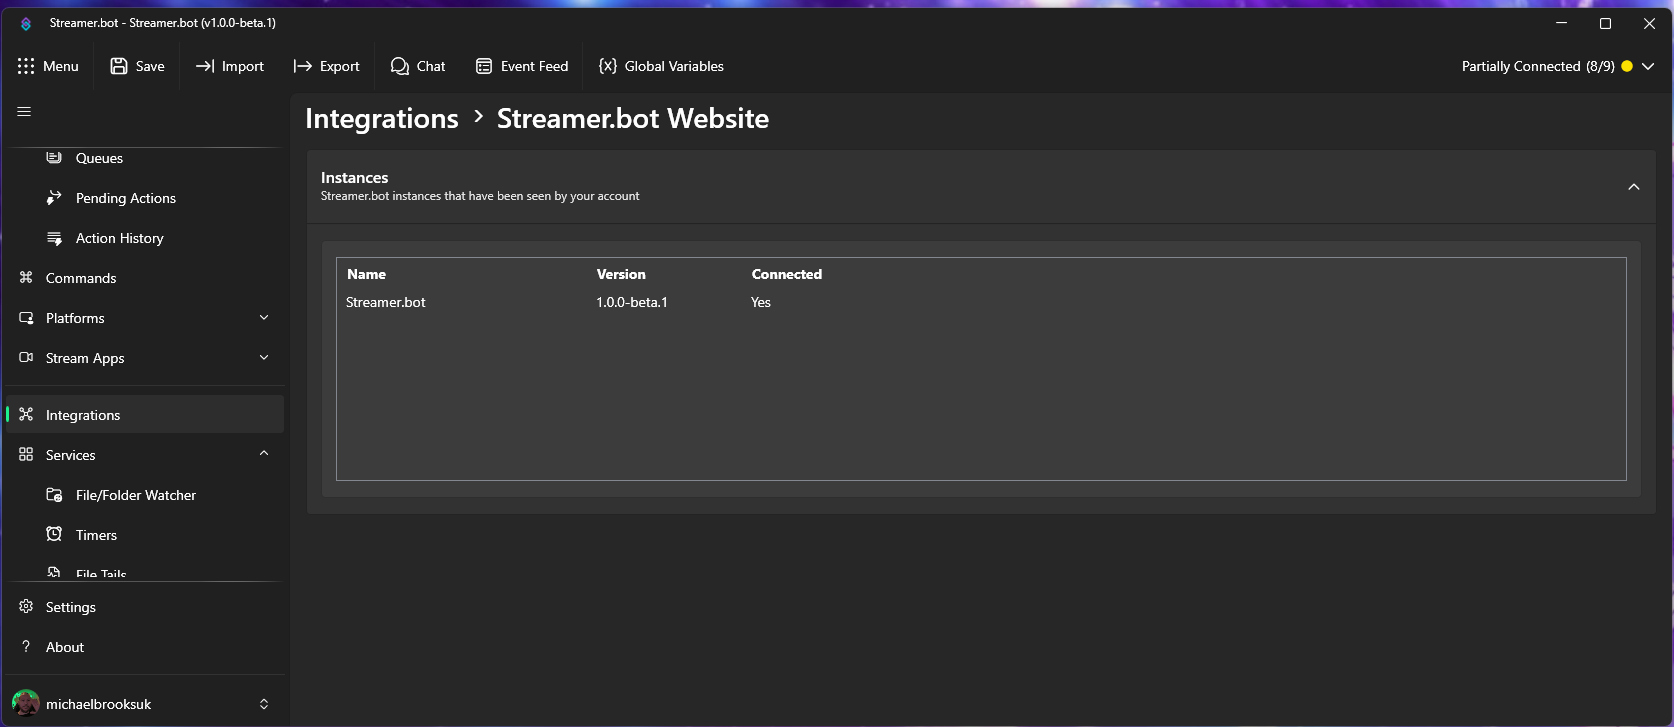
First, on the left side of the application, scroll down until you reach the Integrations section. Click on the link, then select "Streamer.bot Website" from the list. You should then click 'Login', which will direct you to the website's OAuth page, where you can log in. It should then appear in the list of instances.
Set up a Streamerbot stream alert
Now that all the connections have been made, we can go ahead and create an alert. Click on the Actions link in the Actions & Queues dropdown list.
Then, in the list of actions, right-click and select Add. A modal box will appear and we can give the action a name and, optionally, a group. I called this action "Ghost Member" and put it in a "Webhooks" group. Click Ok.
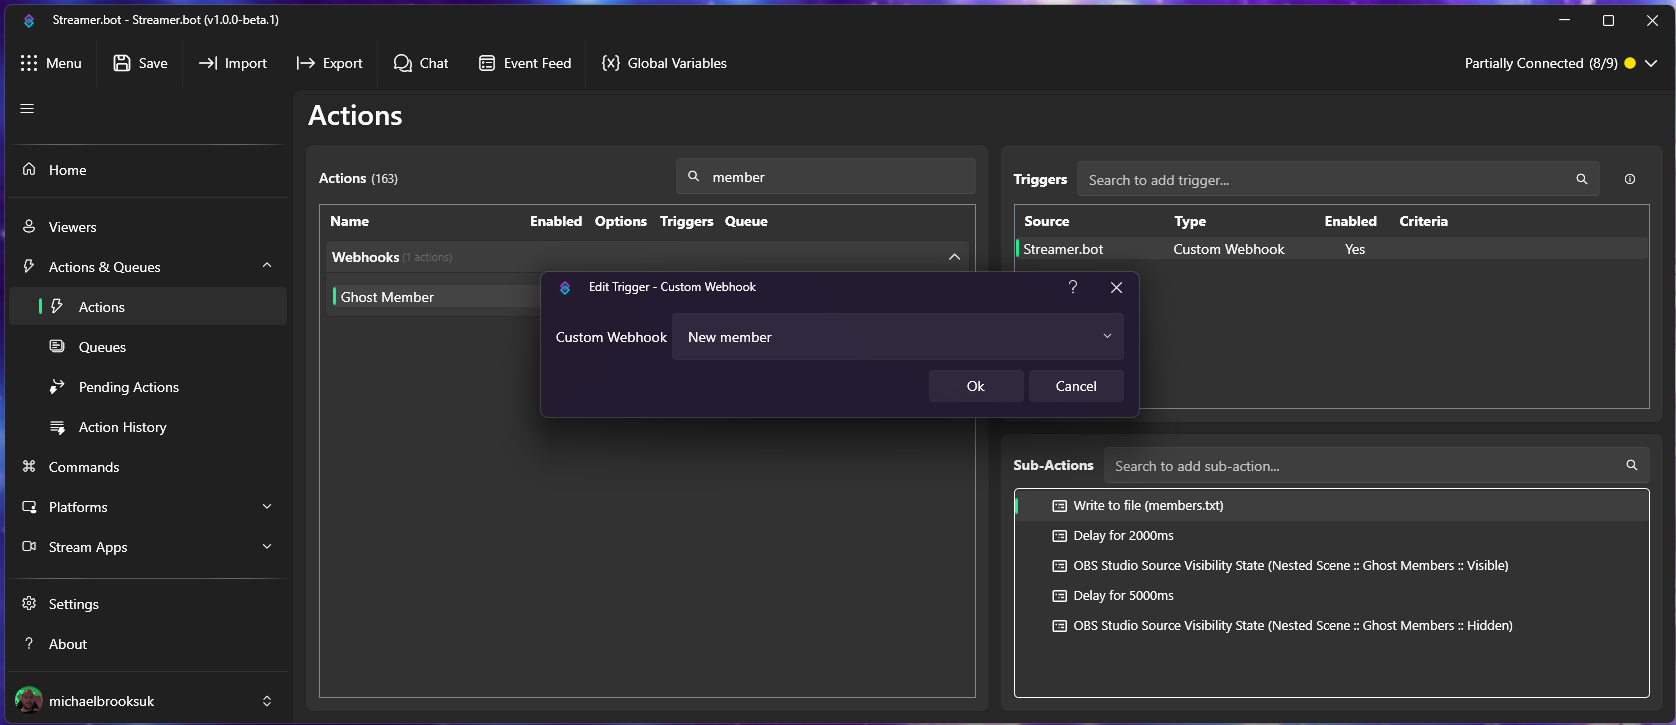
Within the triggers, to the right of your action, right-click and select Add > Integrations > Streamer.bot > Custom Webhook.
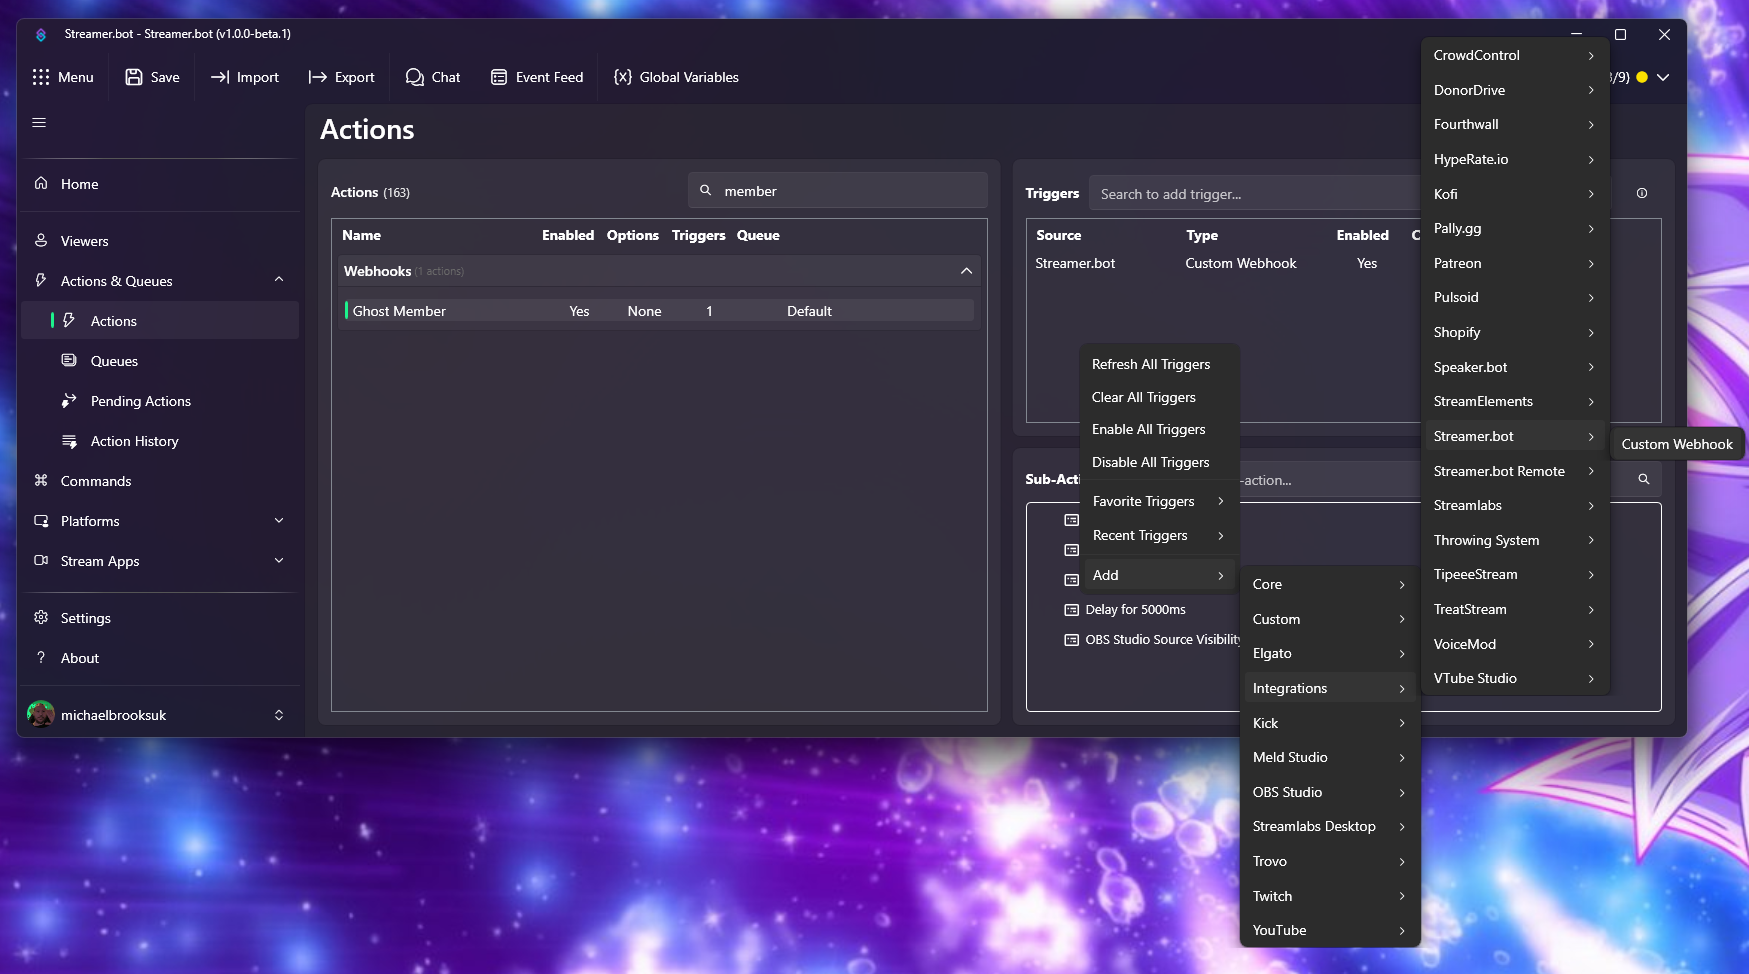
In the modal box, click the dropdown and select "New Member" and click Ok. You could choose "Any" here, but we want to be specific.
We now need to create a sub-action, which is what will be triggered when an action occurs. For this, we will write some text to a text document, but you can now create any sub-action you'd like for your stream.
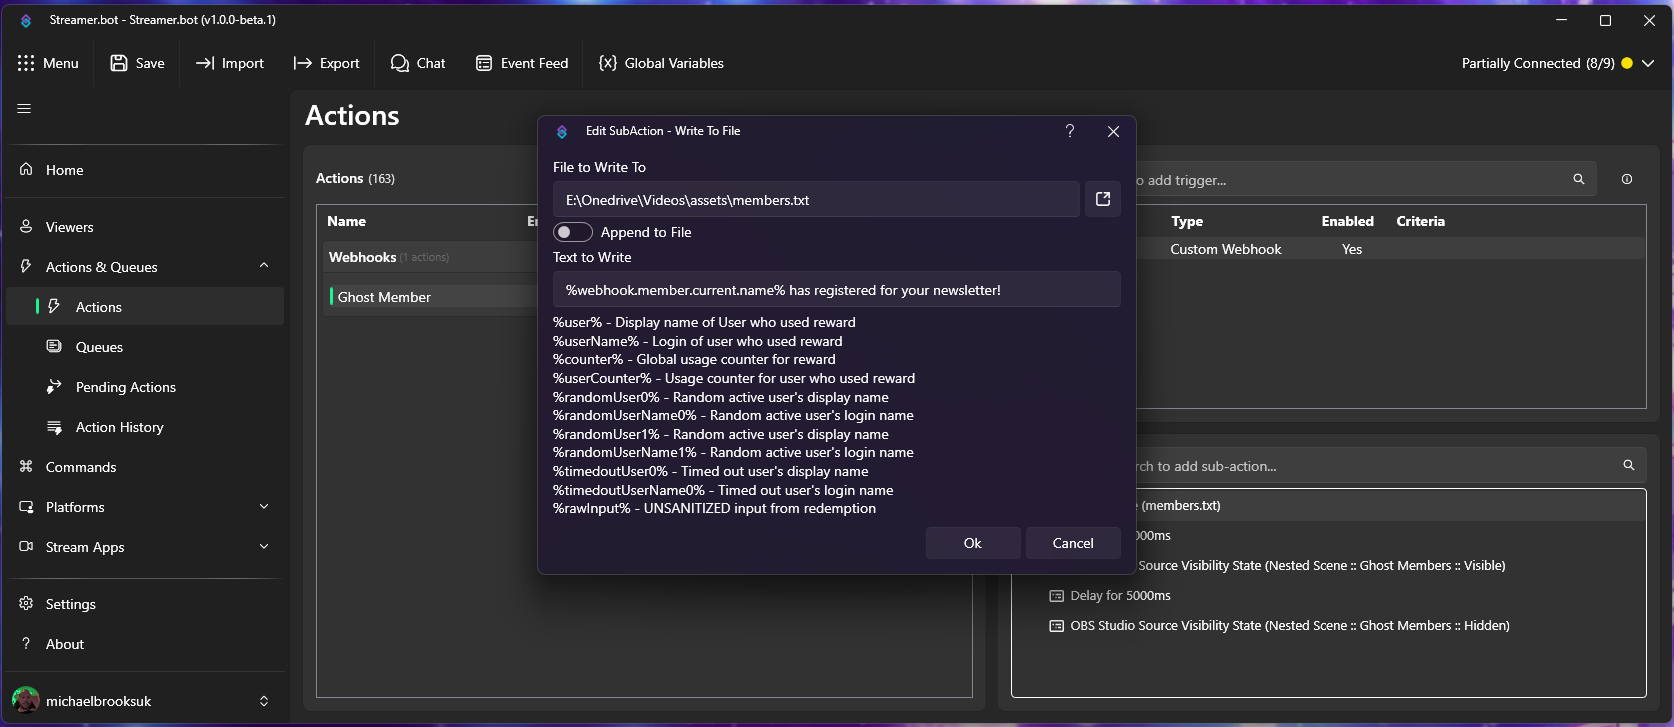
Create an empty txt file, and save it in a location you can find. Then, going back to Streamerbot, right-click in the Sub-Actions section and select Add > Core > File IO > Write to File.
You will then have two fields to fill out. The first one is the location of your empty text file. Use the explorer icon to the right, then find and select the txt file you created. In the "Text to Write" section, you can put anything here, but we're going to call out the user's name and say they have registered for our newsletter.
%webhook.member.current.name% has registered for your newsletter!
You can then test this works by creating a new member in your Ghost members section. You can use any name, and any email address and once submitted, it should go into the request history on the Streamerbot webhooks page.
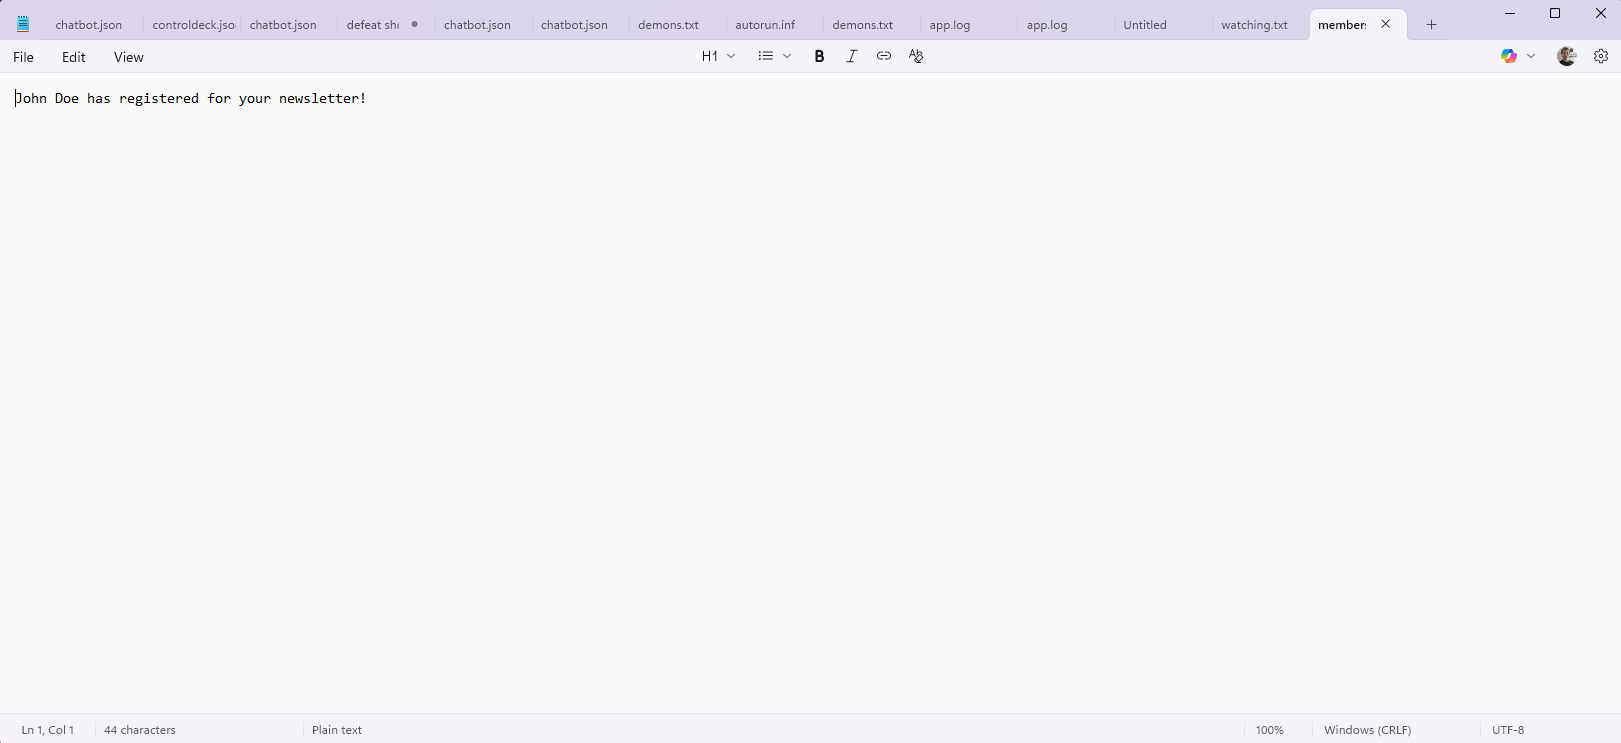
You can simply open your notepad file, and it should display the name you chose and the one they registered for your newsletter.
Also, if you go to the "Action History" section of Streamerbot, you will see the action listed here. You can double-click to inspect all the variables and data you receive.
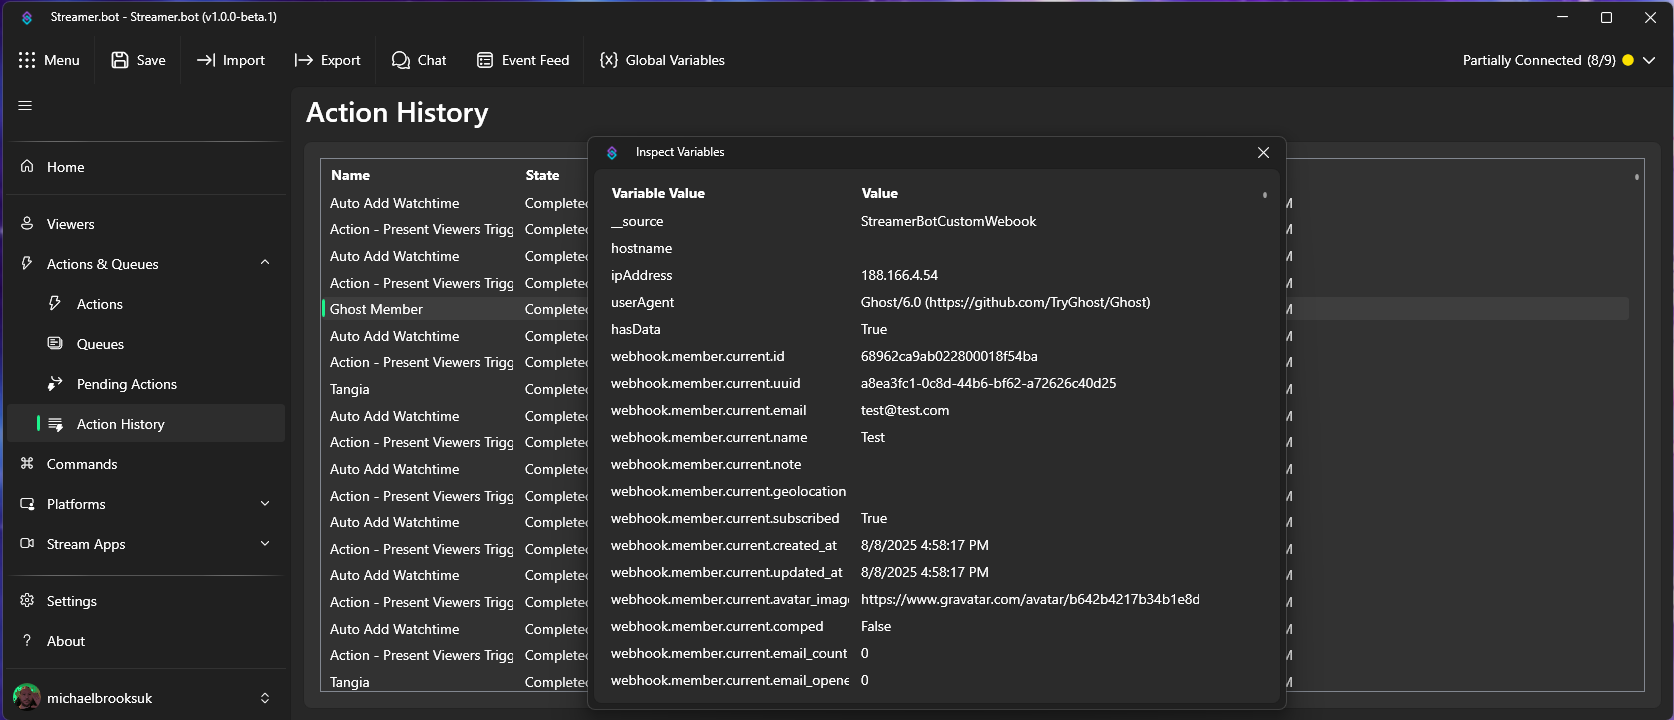
This means you could add the user's Gravatar image if they possess one. You could even add the date and/or time of when they registered. The possibilities are endless!
Member discussion