Adding NetlifyCMS to your VuePress website
If you have a VuePress website or you’ve followed along with my previous post on making a blog, the chances are you want a way to manage your content/posts.
Contents
Directory Structure
First off, we need to know where to store our files. If you’ve followed the previous post, then all files will go into /docs/.vuepress/public/admin. If you used your own directory, then the structure should be very similar.
Configuring the app
Within our admin directory, create an index.html file and add the following.
<!doctype html><html><head> <meta charset="utf-8" /> <meta name="viewport" content="width=device-width, initial-scale=1.0" /> <title>Content Manager</title></head><body> <!-- Include the script that builds the page and powers Netlify CMS --> <script src="https://unpkg.com/netlify-cms@^2.0.0/dist/netlify-cms.js"></script></body></html>Next create a config.yml file and add this.
backend: name: git-gateway branch: masterpublish_mode: editorial_workflowmedia_folder: "/docs/.vuepress/public/images"public_folder: "images"collections: - name: "Page" label: "Page" folder: "docs" create: true slug: "{{slug}}" fields: - {label: "Title", name: "title", widget: "string"} - {label: "Publish Date", name: "date", widget: "datetime"} - {label: "Featured Image", name: "coverImage", widget: "image"} - {label: "Body", name: "body", widget: "markdown"}This will tell Netlify that we want to use git as our authentication system, how we want our publishing to work, where to put all media files and where our public media folder is located. All files should be uploaded to the public public directory and can be accessed from the root directory. E.g. if you wanted to grab example-image.jpg it would be saved in /docs/.vuepress/public/images/example-image.jpg but in your code it would look like /images/example-image.jpg.
If you want to see full references of the config file, then check out the link here. You can now commit these changes and push to your git repo. Once Netlify has built these changes, you can head over to /admin where you will see a netlifycms splash page with a button that says “Login with Netlify Identity”.
If you’ve gotten this far and you can see that page, then congratulations, you have successfully setup NetlifyCMS from your app. However, we’re not finished just yet, now we need to setup Netlify Identiy by logging into the Netlify website and choosing your Netlify project.
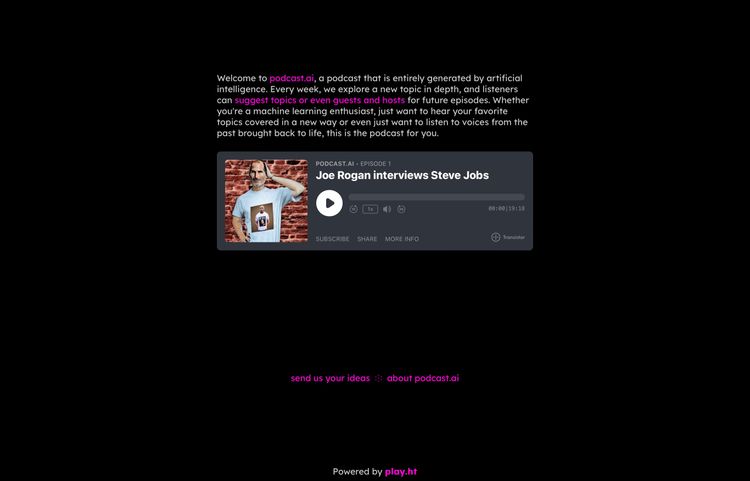
As an example, you can head over to https://michaelbrooks.co.uk/admin/ and see what it looks like.
Configuring Netlify Identity
Once you’re in your website’s Netlify dashboard, head over to Settings > Identity and under Registration Preferences select Open for now (after registering yourself, you should switch to Invite only).
If you want to use a third party auth service such as Google or GitHub, then under External providers, there should be an Add provider dropdown, click on this and select your favourite provider. It will then ask to connect, and once finished, you should be good to go.
Logging into NetlifyCMS
Head on over to /admin of your website and click the button. This will then ask for a username/password and if you added an auth provider, you will see a button which says Continue with X (where X is your provider).
Hopefully you logged in successfully, and now you can see all of your pages inside of your project. You can edit any file, add assets such as videos and images, and add new pages/posts.
All my posts are saved as a draft, and once they’re ready, I move them over to Ready in my Editorial Workflow. I can then go back into the article and hit publish. Once I’ve done this, the article will automatically merge into the master branch where Netlify will deploy the changes. After a couple of minutes, the new post shows on my website for everyone to see.
Closing Thoughts
Hopefully you followed along and now you have a working CMS. You can edit the configuration file to suit your needs and update anything as needed. If you have any questions, please feel free to contact me over Twitter.
If you would like to signup to blog updates, please feel free to do so in the form below. I will be making more tutorials on adding an RSS feed into your VuePress blog as well as automatically posting new items from the RSS feed over to Facebook and Twitter.


Member discussion